
Every account starts with one workspace — "Personal Workspace" — visible from the sidebar switcher (top-left, under your account) or from Team in the sidebar, which lists every workspace you belong to.
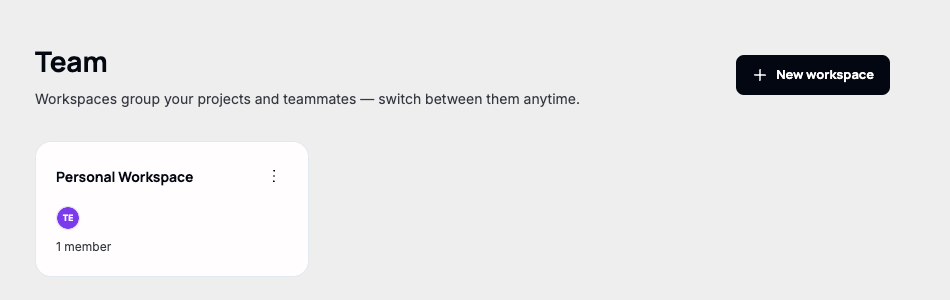
Note. "New workspace" only appears on the Business plan — a Discovery account sees an upgrade prompt here instead (see "Upgrading to Business").
Creating a workspace
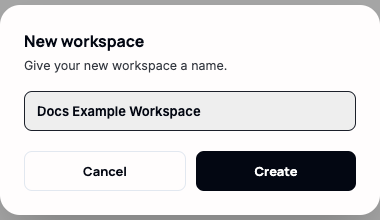
Creating one only asks for a name — there's no plan, region, or billing choice at this step, since a workspace is purely an organizational grouping, not an infrastructure boundary.
Switching between workspaces
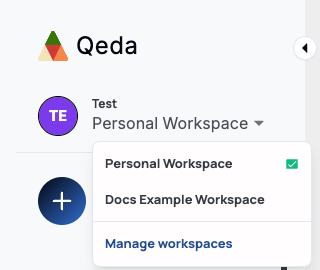
The sidebar switcher lists every workspace you're in, with a checkmark on the active one — clicking another switches immediately and takes projects, AI Hub, and everything else in the sidebar with it, scoped to that workspace.
Deleting a workspace
Each workspace card has its own menu — the three dots in its top-right corner — with "Delete workspace" at the bottom, in red, for any workspace other than Personal Workspace.
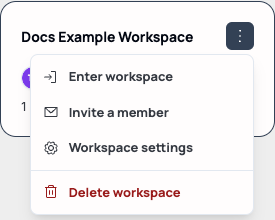
Deleting asks for confirmation once, by name, then removes the workspace and every member's access to it immediately — there's no trash or recovery window.